Objectives & prerequisites
- Learn about the Form API.
- Learn about the three types of forms.
- Learn how to define a form in code.
- Learn how to access a form via a route.
Forms range from relatively simple forms for logging in or saving configuration settings, to configuring complex views, creating/editing nodes, or your own custom event registration system.
One way or another, your CMS and custom application will very likely need at least a few custom forms.
As a developer you can build forms in Drupal 10 using the Form API.
Three form types
In Drupal there are three form types you can specify:
- Generic forms
- Configuration forms: forms intended to save or update configuration data.
- Confirmation forms: forms that provide a confirmation step before executing destructive logic such as deleting content.
In this course we'll focus on generic forms.
Configuration forms and confirmation forms are slightly more complex but they follow the same principles. If you're curious, our sample code contains examples of all three types of forms.
Building a generic form
To build a generic form (just form for short) you need to create a class and implement a handful of methods to:
- Build the form.
- Give the form a unique ID.
- Validate the submitted form data (optional)
- Process the submitted data
Example: ColourForm
Let's build the following form:
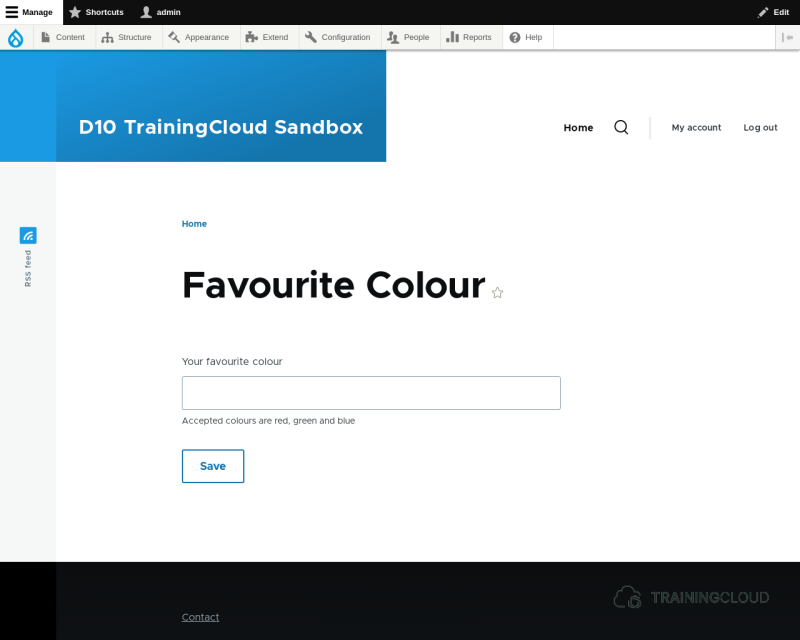
The following sample code defines two things:
- A form class.
- A route that lets you access the form.
The ColourForm class
Let's break this down.
Namespaces
Forms must use the [module name]\Form namespace, and import two namespaces: FormBase and FormStateInterface.
Extend FormBase
Form classes must extend FormBase.
Implement getFormId()
Form classes must implement getFormId().
The only thing this method needs to do is return a unique string that identifies the form.
Implement buildForm()
Form classes must implement buildForm().
This method is where you add fields and buttons to the $form array that gets passed in.
In this example we're adding:
- a text field named 'fav_colour' with the label 'Your favourite colour'.
- a submit button named 'save' with the label 'Save'.
At the end of the function we return the $form array.
A Validation Handler
The validateForm() method is where you can verify and validate the values that were entered.
Specifying a validation handler is optional.
If you want certain values to be formatted a certain way, or want to ensure values lie in a certain range, or want to check a given value against a list of banned words, or anything else… this is the place to do it.
If any of the fields don't match your validation criteria, you can flag the value as invalid and declare a form error.
If any form errors were declared, Drupal will present the form again to the end user, with the supplied values. The user can then correct the indicated field(s) and try to submit the form again, at which time this validation handler will be called again to validate all the submitted values again.
When no form errors are reported (anymore), the submit handler will be called.
A Submit Handler
The submitForm method is where you process the submitted values and do something useful with them such as saving them to the database, or calling an external webservice to send them to a third party system.
In this example we're not doing anything, so the provided value will not be saved anywhere; after submitting the form, the form is simply loaded again.
The /colour route
The most common way to make custom forms available to the end user is to provide a route that loads the form. The form will then be displayed on a page of its own:
This route is almost identical to other routes you created earlier in this course.
The only difference is: rather than providing a _controller property that points to a controller method that is executed when you access the route, you provide a _form property that points to a form class that provides a form.
Summary
- You can use the Form API to build forms in Drupal.
- To build a generic form, you create a class that extends
FormBase. - You need to implement at least three methods:
getFormId(),buildForm(), andsubmitForm(). validateForm()lets you validate submitted data and return to the form in case of errors.submitForm()lets you process the submitted data and do something useful with it.- The easiest way to access a custom form is by providing a route.
- Form routes are almost identical to page routes, but use the
_formproperty instead of the_controllerproperty.