In this section:
- You will learn how to create views of content and of users.
- You will learn how to create page displays and block displays
- You will get an overview of the most important areas of the Views configuration interface.
Creating a new view happens in two steps.
Step 1: a wizard to help you build your view's basic functionality.
Step 2: the full administrative interface where you can configure every possible aspect of your view.
View Creation Step 1: The Basic View Wizard
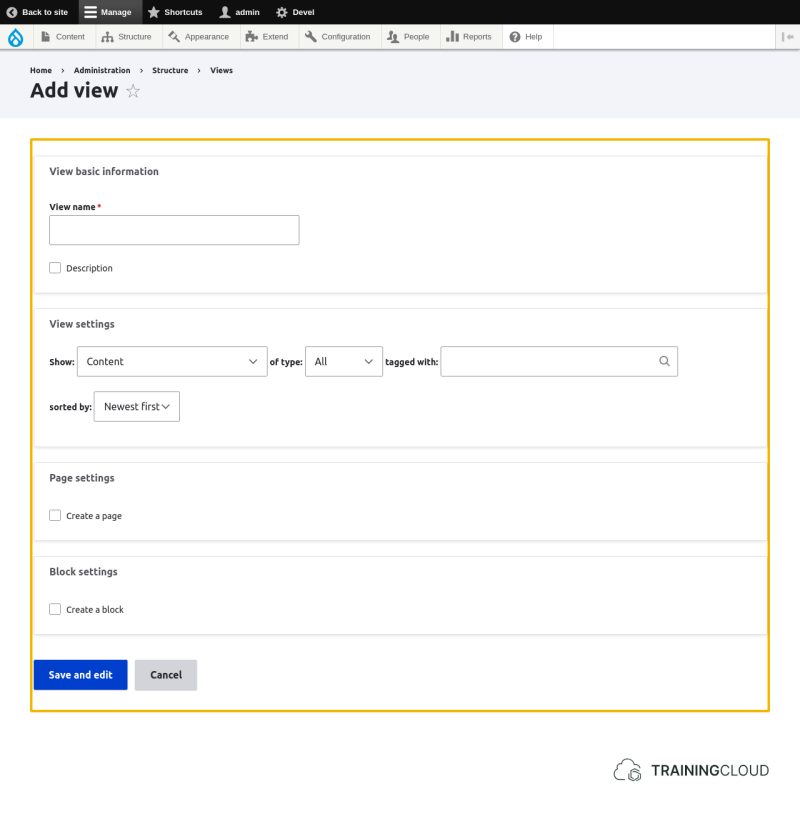
You can create a new view via the 'Add view' button at Manage > Structure > Views:
Activity 1
- Create a view that retrieves all published articles and shows them on a page.
- Give the view a useful name, such as 'Articles'.
- Make the view show content of the type Article, sorted by newest first
- Make view show the result as a page, using '/articles' as its path
- Use the default options for any other options you're presented with.
Once you click 'save and edit' at the bottom of the wizard, you're taken to the full views administration interface for that view.
View Creation Step 2: Configuring the rest
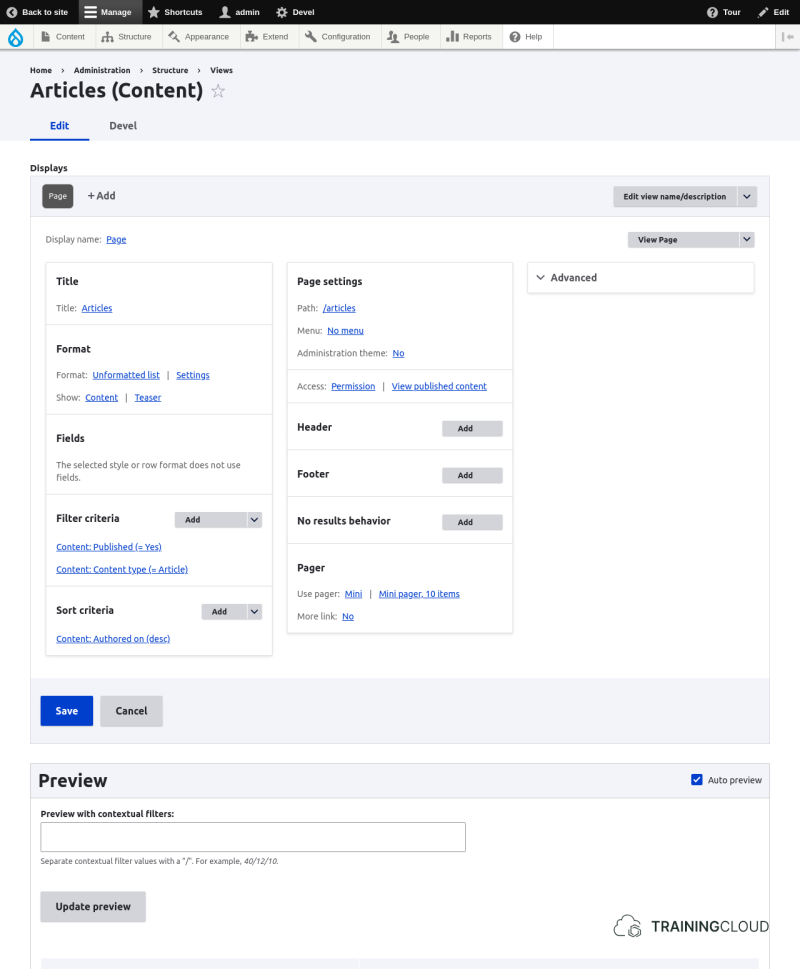
There's a lot going on here, but in this course we'll just focus on the basics and go over each set of options.
Title
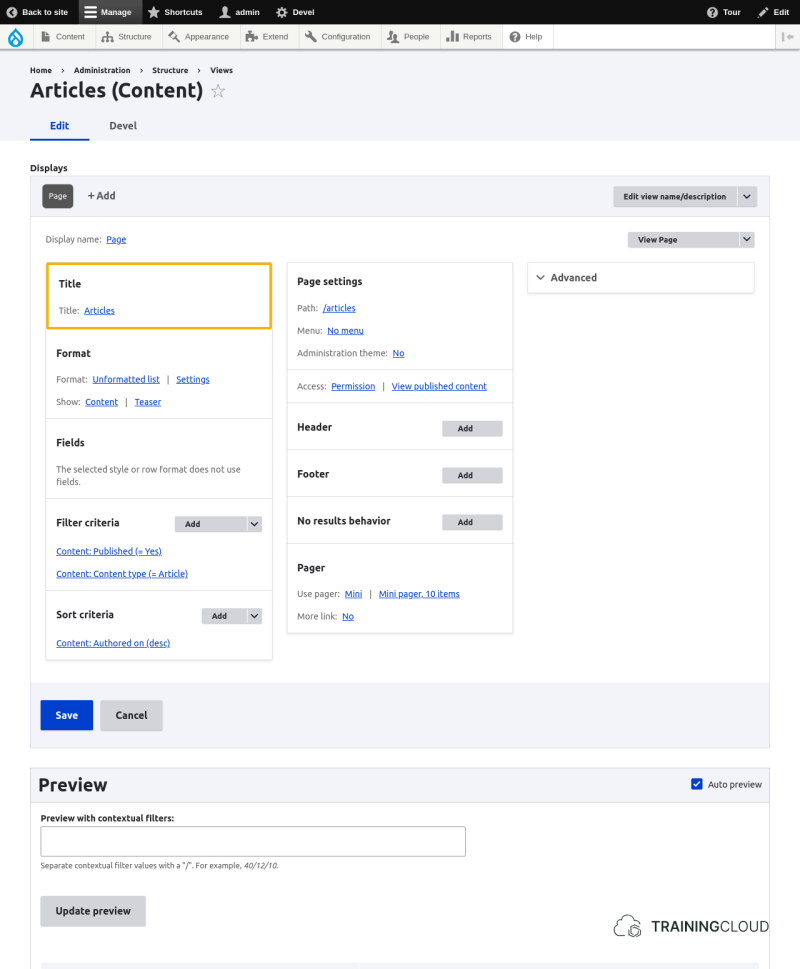
Lets you set the title of the view as it will be displayed to end users.
Format
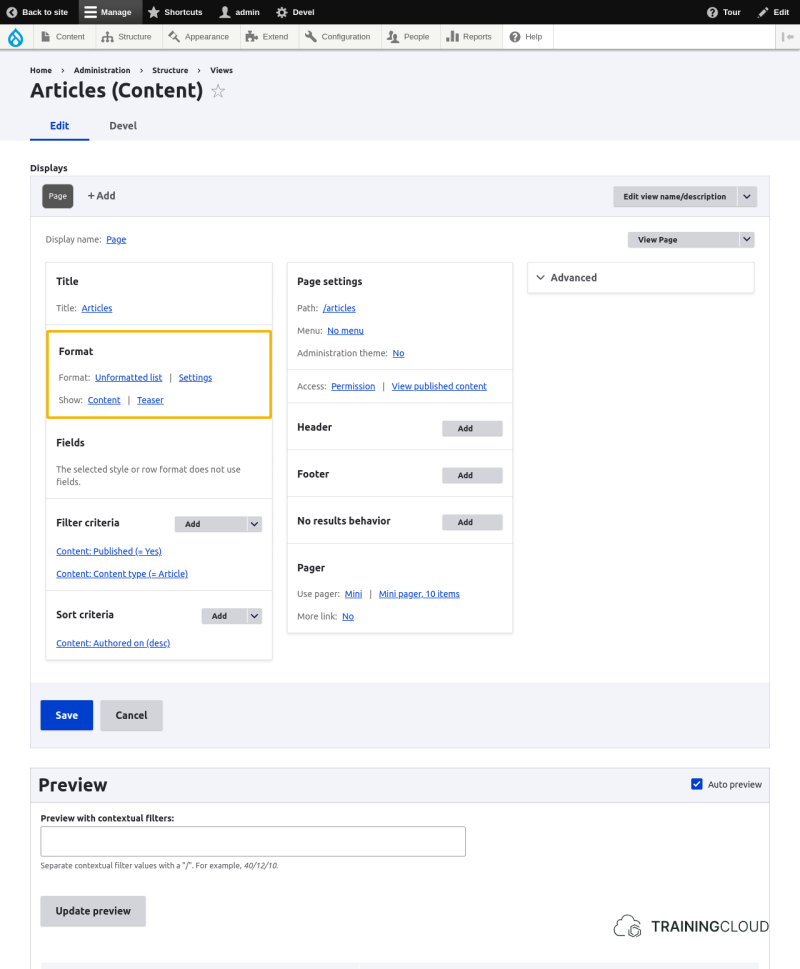
Lets you specify which formatting to use when presenting the retrieved data. Each format has its own settings.
The standard options are:
- Grid
- HTML List
- Table
- Unformatted list
Next to the chosen style, you see a 'Settings' link, which takes you to configuration options specific to that style.
The 'Show' property has a number of options, of which 'Content' and 'Fields' are the two most used ones:
'Content' will show the retrieved content using the display settings associated with the chosen view mode.
Following the configuration in the above screenshot, the retrieved content will be displayed using the Teaser display mode.
→ If you're unclear about Content Type Display Settings or View Modes, please refer to the course chapter on Working with Content Types.
If you've chosen 'Show: content', the next set of options labeled 'Fields' will be grayed out as individual field display settings are taken from the chosen View Mode.
If you were to choose 'Show: fields' rather than 'Show: content', the next set of options labeled 'Fields' would become available.
'Show: fields' lets you choose which exact fields you want to display, and how each field should be styled. This is more work than simply falling back on the View Mode settings when you choose 'Show: content'. On the other hand, you get much more flexibility in configuring each individual field's styling.
Fields
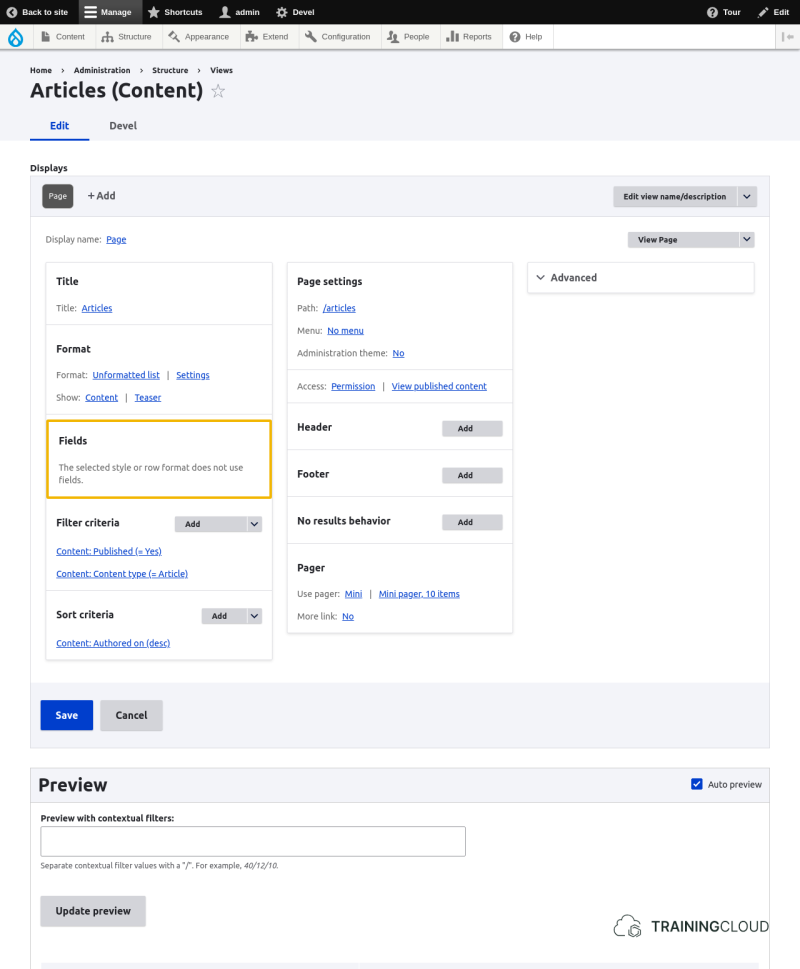
→ We will revisit the 'Fields' options later on, using an example view where we use 'Show: fields' rather than 'Show: content'.
Filter criteria
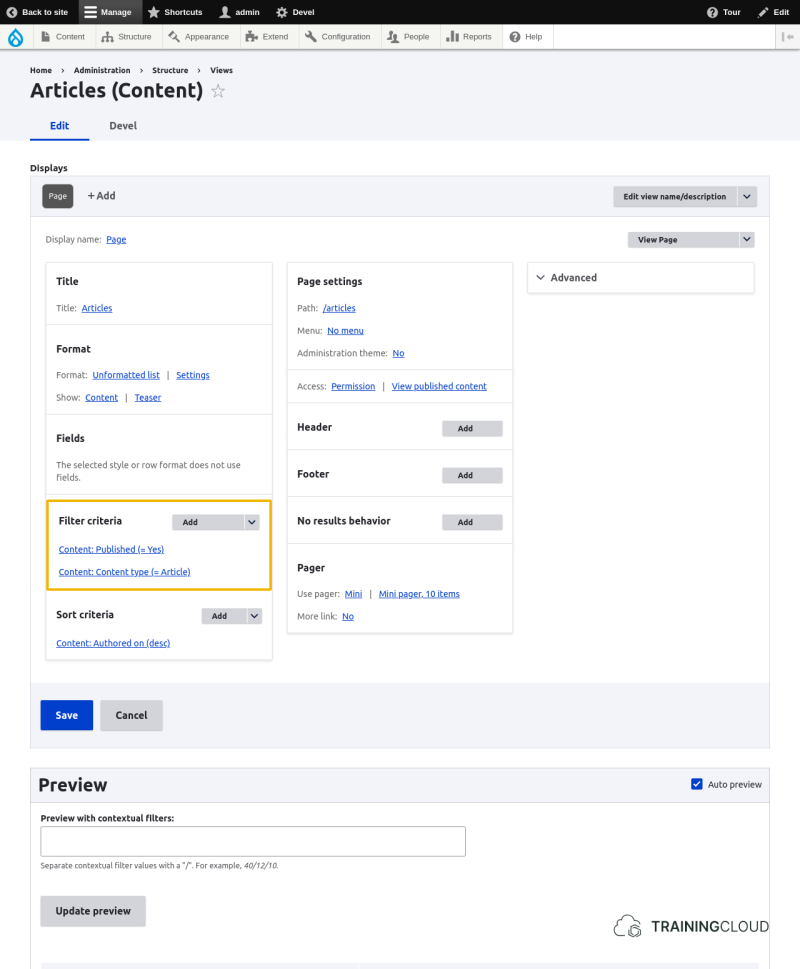
The filter criteria let you filter the data you retrieve from the database.
If you don't specify any filters, you're instructing to retrieve all the nodes from the database, regardless of the type of content or publication status.
The above example, however, shows two filters that were set based on the initial wizard you used:
- The publication status is set to TRUE (Published: yes)
- The Content Type is set to 'Article'.
This translates to a database query that says: retrieve all Article nodes that are published.
Using these two filters as a starting point, you can add additional filters, such as:
- Only retrieve articles created before 01/01/2020
- Only retrieve articles where the author is 'Eva Morales'
- Only retrieve articles where the title contains 'refugee'
- Only retrieve articles where the image is not empty
- ...
You can add as many filter criteria as you want, but be aware that ALL conditions must be met. In the above example this means nodes where the Content Type is Article AND where published = yes.
Sort criteria
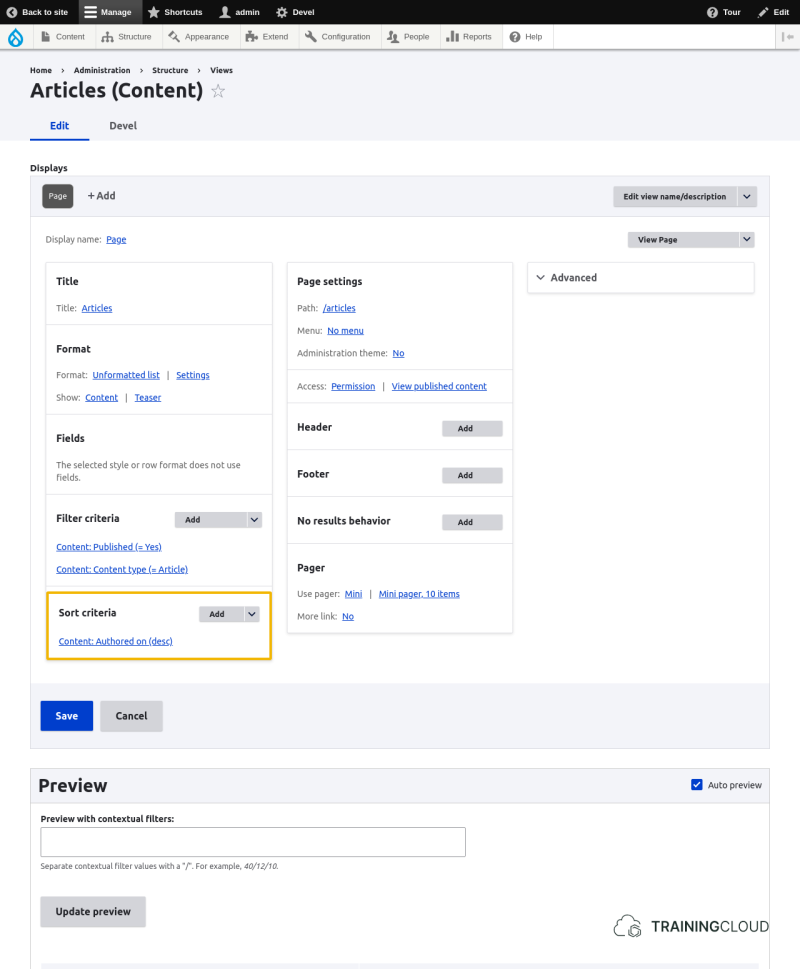
Similarly to the Filter criteria, the sort criteria let order the data retrieved from the database before it's shown on screen.
The above example shows that the retrieved data is to be ordered by creation date ('Authored on'), showing the most recent ones first ('Desc' is short for 'Descending').
If you were to remove this sort criterion and replace it with 'Title', you would be able to order the list alphabetically by title, with 'Ascending' resulting in A → Z, and 'Descending' resulting in Z → A.
You can add as many sort criteria as you want:
- The first sort criterion will be the main sort criterion.
- The second criterion will only be used for those nodes with the same value in the first criterion.
- The third criterion will only be used for those nodes with the same value in the second criterion
- …
Example:
Assuming you add the following sort criteria:
- 'Authored on (Desc)'
- 'Title (Asc)'
The retrieved nodes will be ordered by creation date, most recent first. Each set of nodes with the same creation date will subsequently be ordered alphabetically.
Page Settings
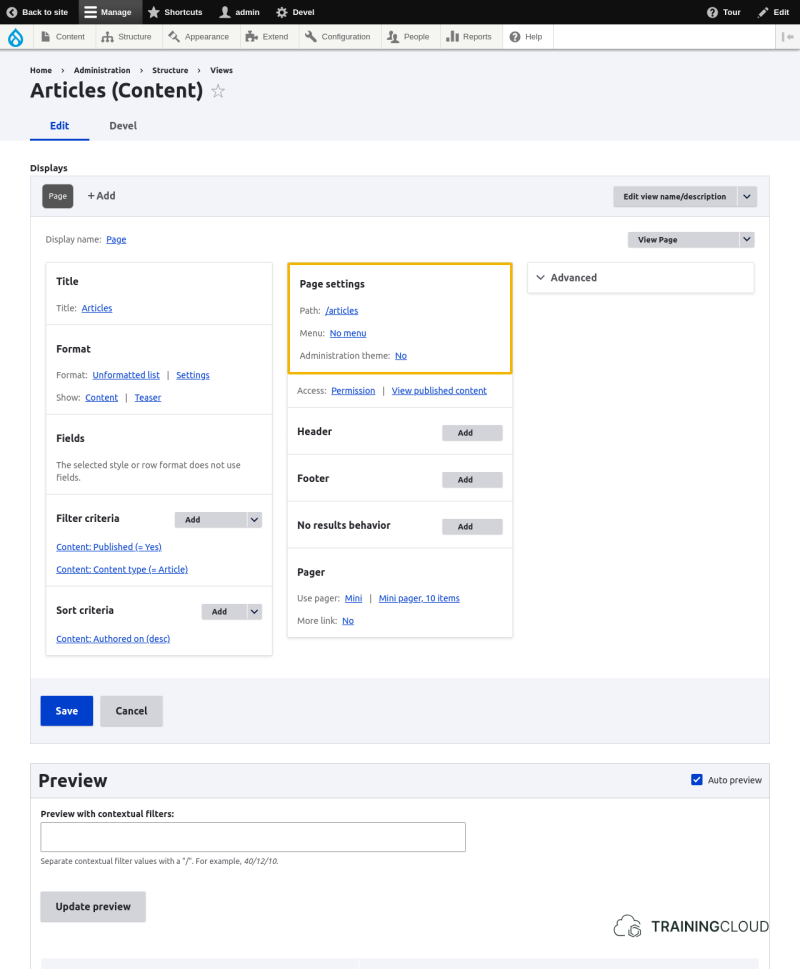
Lets you specify:
- where visitors can reach this path (similar to when you specify a path alias for a node)
- a menu item (similar to specyfing a menu item for a node)
The 'Access' setting lets you limit access to this view based on roles or permissions. We won't go into detail here.
Note:
- If you are creating a view with a 'Block Display' instead of a 'Page Display', this set of options would be name 'Block Settings' instead of 'Page Settings'.
Header
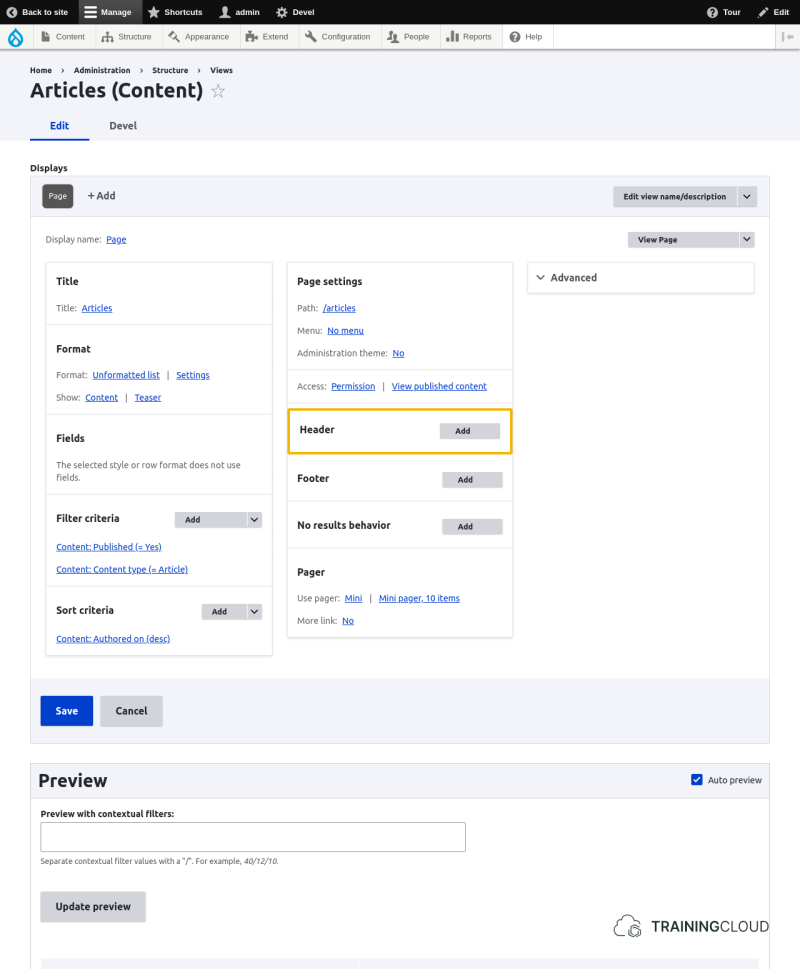
Lets you display certain things above the retrieved content.
This is most often used to print a block of text above the view, but you can also use it to insert the output of another view here, though that is a more advanced operation we won't discuss in this course.
Footer
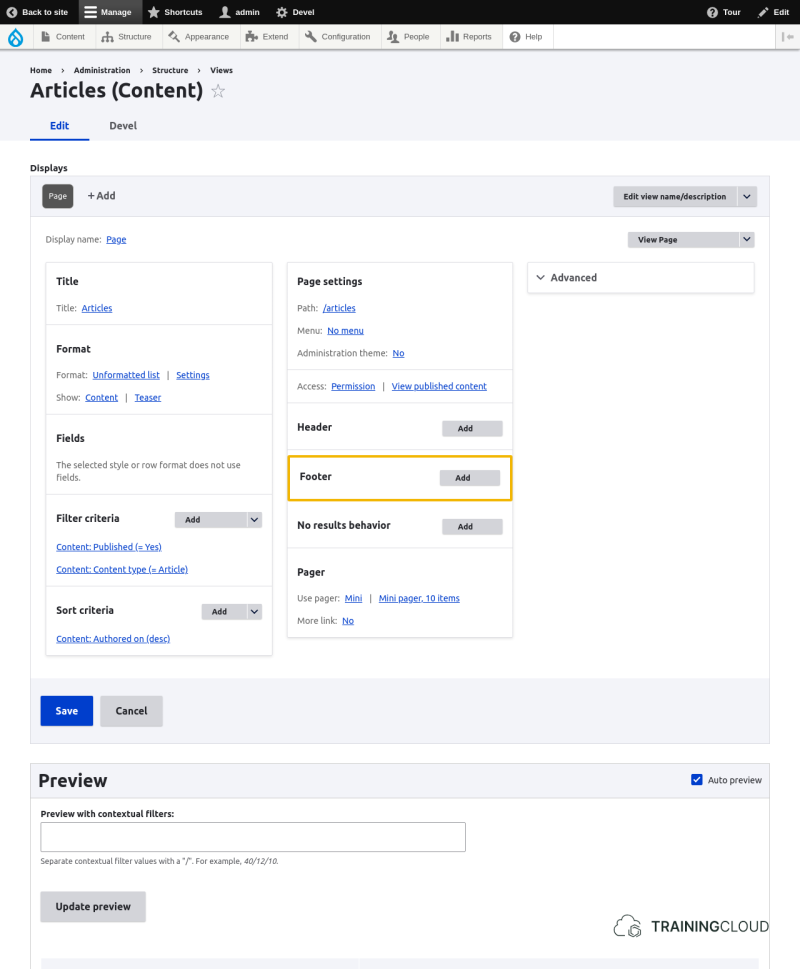
Lets you display certain things below the retrieved content.
This is most often used to print a block of text below the view, but you can also use it to insert the output of another view here, though that is a more advanced operation we won't discuss in this course.
No results behavior
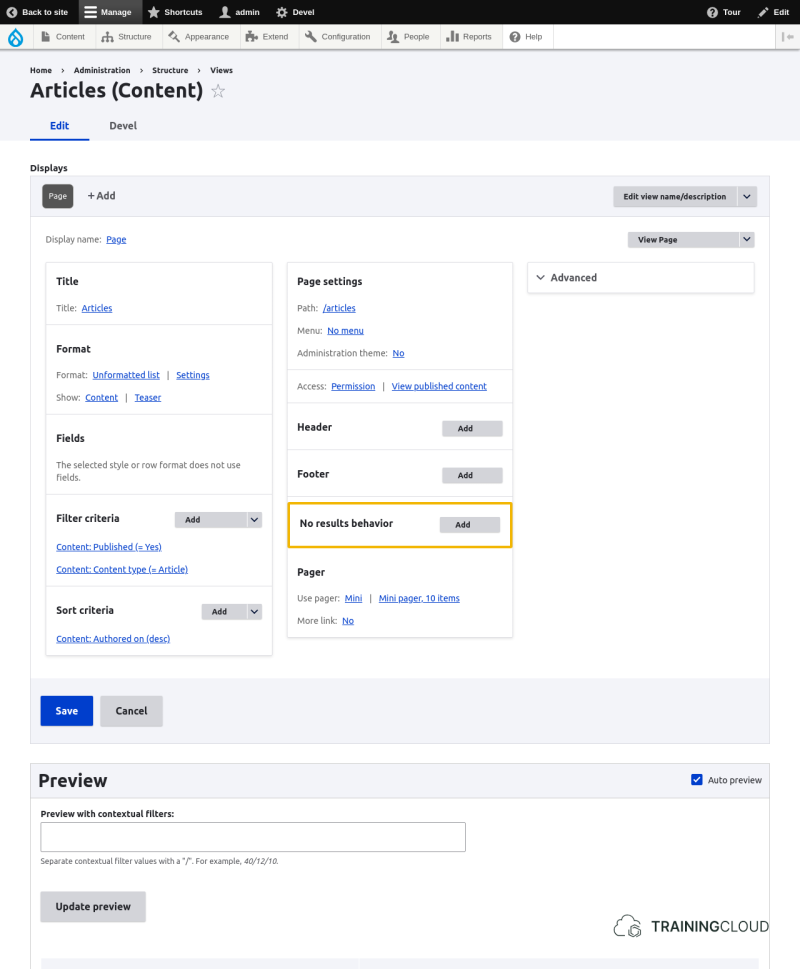
Lets you specify text or insert the result of another view in case your view's configuration doesn't contain any results.
This is most often used to display a user-friendly block of text that tells the visitor there view did not return any results. If you don't display text when the view is empty, visitors will only see the View's title and a lot of empty space.
Pager
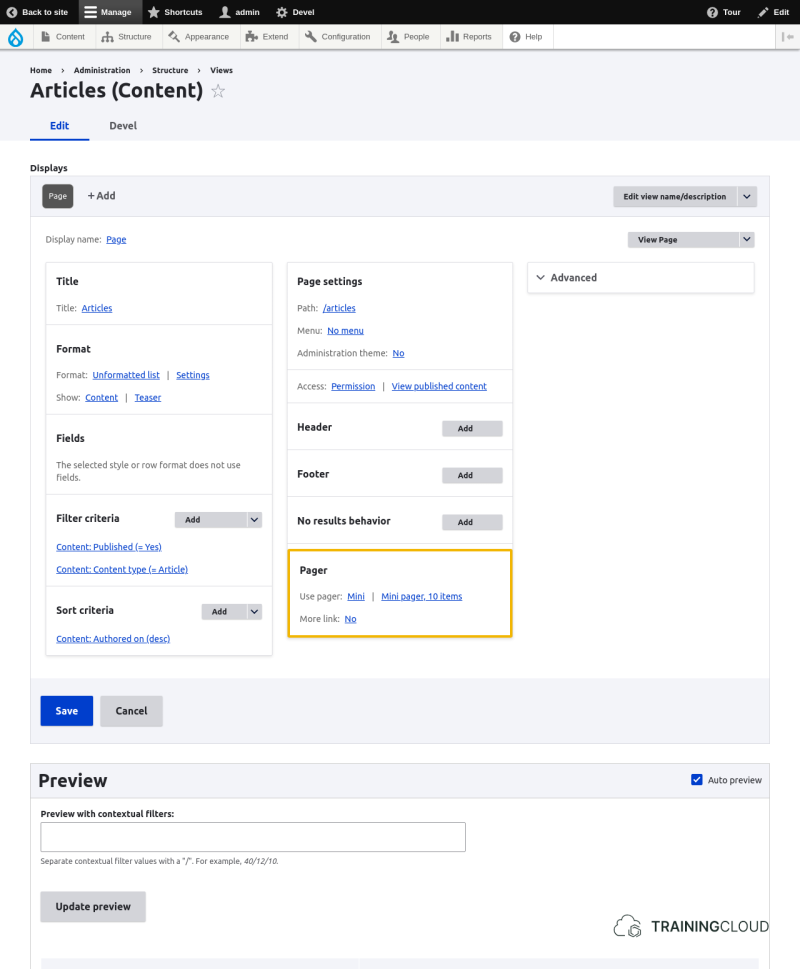
Lets you specify how many items you want to show per page, and lets you display the number of result pages, similar to a set of Google search results.
Advanced
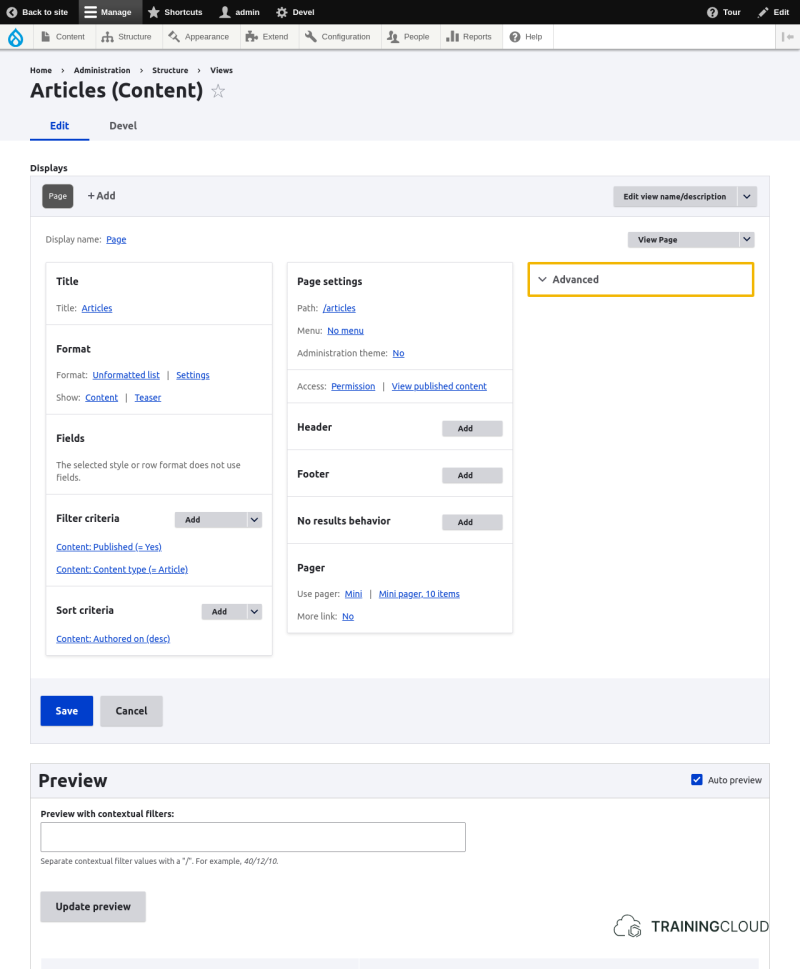
Contains a set of advanced configuration options. We won't discuss these in this course.
The following tasks are designed to help you familiarise yourself with configuring various basic aspects of a view.
The views interface can be intimidating at first, causing you a bit of frustration and lost time. Just stick with it; after a bit exploration things will start to make more sense.
If you've managed to break your view entirely, or changed too many things, feel free to go back to Manage > Structure > Views, delete your Articles view, and start over.
Activity 2
- For the Articles view, change the configuration so it displays content using the 'Default' View Mode rather than the 'Teaser' View mode. (Hint: click on 'Teaser')
- Look at your view at /articles to see the difference.
- You can also scroll down to the bottom of your view's configuration page to see a live preview.
Activity 3
- For the Articles View, change the 'Content: published' filter criteria to only show unpublished articles.
- Look at your view at /articles to see the difference.
Activity 4
- How would you reconfigure the Article view to show published AND unpublished articles?
Activity 5
- For the Articles View, change the sort order of the 'Authored on' filter from Descending to Ascending.
Activity 6
- For the Articles view, add a block of text that says "Sorry, there are no articles to show at this time" in the 'No results behavior' section.
You can use the 'Text area' element in the 'Global' category
Summary
- Creating new views is a two-step process.
- The views administration interface lets you configure:
- Which content to retrieve
- How to style the content
- How to order the content
- How many content items to show per page
- What to display above and below the content
- What to display if no content is retrieved